Thursday, December 12, 2013

beauty blender sponge review


     Beauty blender is used for the application of makeup on your skin there are used for foundation also a wide range you can use this for concealer, BB creams and powders i.e. especially for 
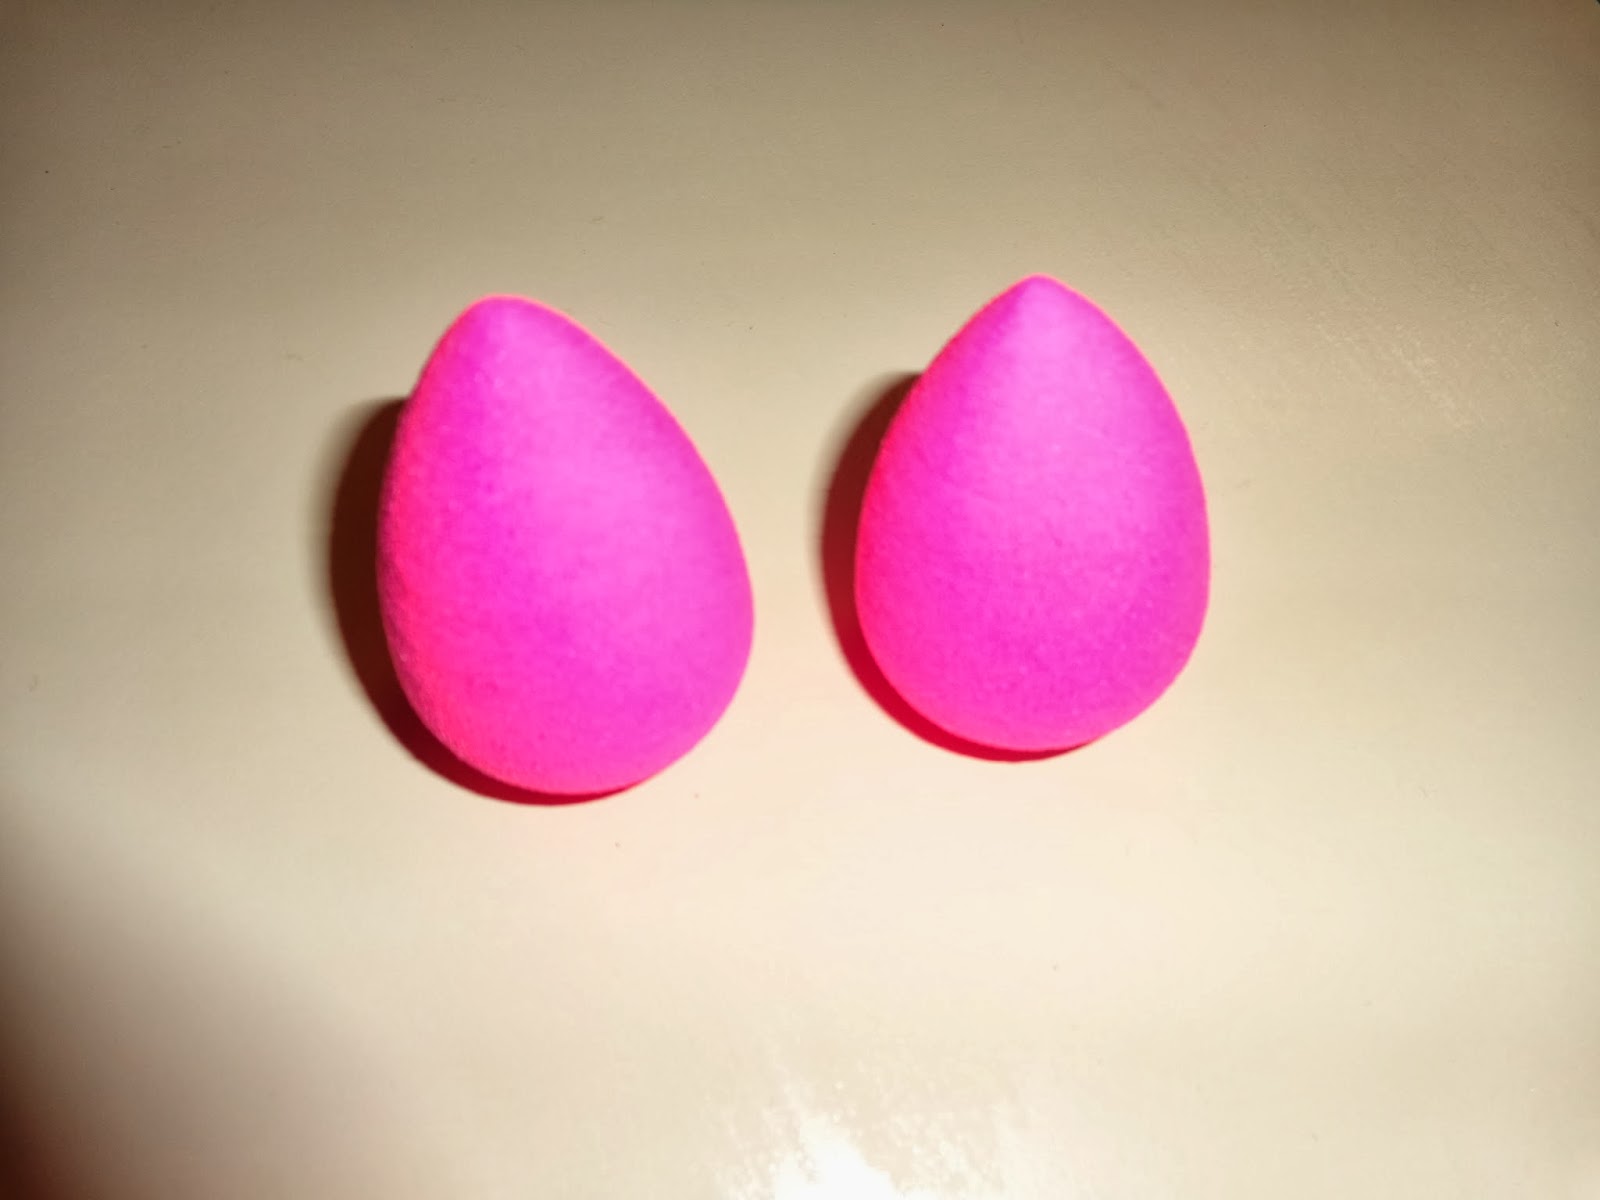
the base makeup you can easily use this beauty blender. This beauty blender is a sponge which is of tea drop shape.


      Beauty blender is soft, sponge it too bounces well and the tea drop shape of this blender is very effective for application of creams along the edges of nose around the eyes. Blender gives a nice blending effect of the cream on the face.

      Along with the beauty blender I had got the makeup remover which too works well for removing the makeup without leaving back any strains.

Sponge design and its usage

          Beauty blender is tea drop shape with 360usable surface which gives an absolute complexion. The blender comes in pink in color with a pretty look. Blender is used for base makeups like foundations, bb creams and powders.


 Beauty blender’s shape makes application foolproof by allowing you access hard to read areas easily. It has unique curves with a sensational touch. This has no odors and non-allergic too.


How to use

          For applying a foundation or bb (liquid creams) creams we need to dip the blender in water while doing this your blender would expand twice its original shape and squeeze the excess water from it. Now take the cream on the sponge and apply it on your face which gives a natural look. 
         

The edges of the blender are used for the application of pointed areas of face like below the eyes and in the corner of the nose. The other ends are used for a wide spread on forehead, cheeks and chins. This beauty blender can also be used dry for the application of powders.

          This way of application gives great results for a natural look.

Blender Cleanser

          Beauty blender comes with a cleanser which is used for cleaning the blending sponge. Just apply a drop of cleanser over the blender rinse and wash. It is very essential to wash the cleanser periodically which keeps your skin fresh and healthy. The blendercleanser is of lavender scented and free from all dyes. Its also eco-friendly as the sponge.


Cost of the beauty blending kit

Beauty blender with 2 tea drop blending sponge along with a blender cleanser cost 33$ in amazon. You even get the blending sponge separately.


facial hair removal for women

Removing facial hairs we follow many methods here are few among that

1.     Threading.


Threading is one of the popular methods we all follow from a long time this is an effective way to remove facial hairs temporary which has to be done periodically depending on the growth. This method is quite painful and sometimes leaves a reddish spot after its been done for sensitive skins so use an ice cubes and just rub along the skin which will help in reducing the redness. Threading may make your hair dark and thick.

2.     Waxing.

        Waxing is another famous method where you apply a wax along the hair and rub a wax strip on it and pull it on the opposite direction of the growth. This is also quite painful but the hair grown will not be thick as time goes on but they may create wrinkles if it’s been used in short intervals of time repeatedly.


3.     Bleaching

        Bleaching is an easy and fast technique. Where the bleach change the color of facial hairs to golden brown making it feel as your skin color. This method doesn’t pain. Apply the bleach on your face for 10 min-15 min and wash it off. Do not go directly to sun for an hour and apply sunscreen lotions before exposing to the sun. This is costly if you go to parlor and apply.


4.     Facial hair removing creams.

       The creams which are used generically just for removing facial hairs can only be used. This method is easy one. You need to apply the cream and leave it for few minutes and the remove.


5.     Laser treatments.

      The laser treatments are permanent hair removing method which is costly and I would not recommended this as the facial hairs are due to some hormonal changes and this technique doesn’t remove complete hairs as after 1yr or 2 we need to do this treatment again

   We already discussed about facial hair removing using Bellable facial removing tool in our early post with its pros and cons.


Monday, December 2, 2013

lip liner as lipstick

Hi beauties,

          Going out!

          Worried on your lipstick whether your lip color would last long or not?

          Finding for options?

Here I would like to give you a cool and an easy option. Where you would not worry even if you eat, drink water and nor even while kissing.
Many times we feel our lip liners would be seen and your lipstick gets vanished totally. Isn't it yeah!

         So, here is a solution for that. We can apply our lip liner to our lips and these lip liners work well for lips. Just apply along your lip outer line as usual and later apply your lip liners inside the lips that’s the place you apply your lipsticks and later feel the difference on the long lasting wear of lip liner over lipsticks.

          These lip liner gives a light wear feel for your lips. You would not even feel you have worn something on lips and also they give a nice shade which is fully different from what you apply over lip line.

While using lip liner for the outer lining of lip we can use a different color so you might get even more beautiful look.

These shows your lips dry for that you can use a transparent gloss giving it a nice glossy look.

Advantages


1.     Long lasting wear even after drinking / eating anything.
2.     Light feel.
3.     Stays more than 8 hrs.
4.     Product cost is less and can be used for a long time.
5.     Can use for both lip liner as well as lip color.

Disadvantage


1.     Making your lips dry. This can be overcome by applying a gloss.


Hope this tip helped you in finding another method for long lasting lip color we already have discussed a method where your lipstick long longer in our previous post


Monday, November 25, 2013

vitamin E oil benefits

Vitamin E oil is good for hair, nail and skin other than its health benefits in preventing cancer.


Treatment of scars

          Vitamin E oil is good for removal of scars cased due to burns and acne. Take few drops of vitamin E oil and apply on the scars and rub it in circular motion by doing this the oil penetrates deep into the skin and cures the burns and acne. For a good result should apply it daily.

Treatment of stretch marks
          Stretch marks are common sight during or after pregnancy period. The vitamin e oil acts effectively for healing such marks. Just apply regularly few drops of oil on the marks and massage it circularly. By doing this it will heal the marks.

Treats good for dry nails

          As vitamin E is good for nails cracking and splitting so just submerged your nails in a dish pouring vitamin oil in it for 5-10 min in regular basis. Also just take a drop of the vitamin oil in your nail and rub it for about a min this will also remove dryness in skin and cracked cuticles.


Reduces hair loss

          Vitamin E when applied on the hair scalp with a small massage will help in circulation of blood in the scalp by reducing the hairloss with stimulating the hair growth. This also helps in preventing split ends.

Prevents pre-mature aging and greying

          Vitamin E oil is very effective in slowing the aging process both for aging and greying of hairs. The antioxidants in vitamin E are very effective in reducing the premature aging. Just apply few drops vitamin E with coconut oil on equal portions on hair will reducing greying of hairs.

Cost

          It cost around 6$ or 350Rs for 30ml if Cococare brand vitamin E oil.


Thursday, November 21, 2013

Essential makeup brushes

      Makeup tools are essential for a perfect makeup. One among is Makeup brushes. We often doesn't know which brushes are used for which purpose and end up a brush we doesn't use lot. Here is a complete review on which brushes to be used when with all those essential brushes one should have.

    You would be thinking, why is it necessary to use a brush for makeup?

Make up without brushes are incomplete as these brushes give an even blend of cosmetics in your face. They also give a decent look and make us feel it’s natural.

                   Many of us are confused what kind of brush to use and which brush is suitable for what purpose. Here I would tell you 5 essential brushes that everyone should have. The brush which we get should be soft comfortable for application and easy to use as well as to clean.

 1.       Powdered brush.

         The bigger and puffier brush doesn’t suite for the application of the powder so buy a medium sized featured brushes with a slight rounded end which will help to dust the powder where ever needed like nose , forehead, chin leaven your cheeks bare for a rosy.


  2.       Blush brush.
    
        This blush brush is an important brush in our kit .This should have a dome shaped head with a long handle which will help to contour through your cheekbones with a natural look. Apply the blush along your cheekbones which will give a great look to your face. Wash your brush every week with a baby shampoo to remove the oils in the brushes.


   3.       Foundation brush
      
     A flat shaped brush with contoured tips gives a blend makeup finish even inner corners of your eyes and around your nose. It’s wise to wash your foundation brushes after every application which will prevent its shape and to remove oils.


  4.       Eye brush
          
               A flat ended brushes which is used to apply eye color on the eyelid gives a great blending effect with easy applications. Just wipe the flat brush with the eye shades and gently work along the color up towards the crease contour for a blended look. You can also use this side of the brush to foil onto the eyelid. You can use little water for the application. Angled brushes are good to work along the upper part of the eye along with eye shadows.


  5.       Lip brush
      
              Applying lipstick with a brush gives an even application for your lips. This brush is flat and easy for the application. Just wipe the brush in the lip color and apply along with the lips. This would give an even application and easier to use too.


 Great product for starters:

This comes in wood with Aluminum (Handle) and it’s of Artificial Nylon. There are 5 brushes in this pack
               1. Powder Brush
               2. Blush brush
               3. Eye shadow Brush
     4. Lip Brush
     5. Eyebrow Brush

These are essential brushes for a starter who is learning to do makeup with brushes. Get used with these brushes and then you can buy a brush for every specific use with a specialized purpose. By then you would know which kind of brushes will be good and would have got a wide ideas of all the brushes and its purpose. This kit is available in amazon for 7$.


 Makeup is an art on face so apply as you like and enjoy the beauty.

Tuesday, November 12, 2013

Maybelline superstay 14hr lipstick review

Hi girls ,
     
       Everyone loves lipsticks and we often tend to try new brands, colors, new finishing’s when it comes to lipstick hope you all agree to this. Yeah! One such lipstick trial is the Maybelline’s superstay 14hr lipstick.

 I got two colors of this lipstick where it look different in colors when I ordered online but while using it I feel it’s pretty much similar. Anyways this lipstick comes in 20 different shades.But be careful while ordering your lipstick color you might land up in same colors.


 Hope these too colors are pretty much same. The shades are Ravishing rouge and enduring ruby


I feel it is not so attractive in its look as other lipsticks but, the company has given a great try for a different look.


    1.      Stays fresh, light, and comfortable.
  
The description says it is fresh, light and comfortable it wasn’t so after applying this lipstick it made my lips dry so I had to apply a gloss or lip balm over it to make it comfortable for my skin. It wasn’t comfortable till I didn’t wear a lip balm/gloss over it.

    2.     Long lasting for 20hrs

            As the description says its 20hrs long lasting wear that’s the main reasons that I have got this lipstick but, It ended up just for 6hrs if you don’t eat or else it vanish before that.

    3.     Application procedure

As in the description they say that for a great result you have to apply starting with center of upper lips to the outer edges of your lip following the contours and guide to entire lower lips. Do you think this application will work for a long stay?

No, not at all. There made a no difference in the long stay of the color as it was just as much as 6 hrs.

    4.     Is cost low
           
The cost of this Maybelline SuperStay 14Hr Lipstick is 525rs in India and 10$ in US dollars. So it’s not that cheap as well when you compare other lipsticks.


This lipstick I would rate a 3 star.

Thursday, October 31, 2013

Workout for abdominal muscle

Hi sweeties,

          We always set a lot of weight in our stomach, tights and hip and that might led to some health problems or due to some health issues we tend to increase on weight in these areas so when ever you feel a difference do check with your doctor. Here I would like to share with you few exercises that are good for lower abdominal muscles and can also be carried out at home.

          Before starting any kind of workout we need to take care of few things that might help you they are

·         As soon as you have your meal never do any exercises you need nearly 2 hours of gap.

·         Drink lots of water in between the exercises and also before and after you do exercise.

·         Do stretches after the exercise which will help you to relax.

·         When you work out lot you need healthy food and make sure your in proper diet

·         Exercise with a proper diet will only help you in reducing weight. Just exercise is not enough so take care of your diet too.

Hope all this tips helped you and before starting your exercise you need to warm up your body. You can do jogging or jumping jacks to warm up yourself to start your exercise.


   1.   Roll Up Abs


          Lie on your back with stretching your arms and legs straight. Just inhale and get up touching the toe finger and exhale. By doing this there will be pressure in your lower abdomen. Try repeating this roll up Abs for 2 cycles of each 20 times. Initially start with one cycle and gradually increase it.


   2.   Hip crunch


Lie on the floor with your chest facing the floor and just lift your body parallel to the floor with hands 90 degree as the support and push a leg toward the abdomen and relax do the same to another leg and try repeating this for a one cycle of 20 counts.


    3.   Hip lift


      Lie on the floor with your back on the ground and raise your legs towards the ceiling and palms down in the sides and lift your hip off the floor by tightening the core muscles. Breathe in as you lower your hip. You can hold your hip as long as you can. The more you hold the more the effective.


Hope you liked the tutorial and i will meet you all with a new tutorial soon.

Note: Not all the exercise is suitable for everyone. You need practice and have proper training.


Related Posts Plugin for WordPress, Blogger...