Monday, October 21, 2013

Makeup remover

Hi,

     Everyone feels lazy after a long tiring day and goes to bed without removing makeup that’s applied on face, this would create lots of problem to our face. I have put forward few questions that would help you in knowing the drawbacks of not removing makeup in the night.

Do I need to remove my make up in the night?

               Removing makeup while going to sleep should be made a practice. Our skin has lots of pores and it breaths too. But, while applying makeup those pores are just blocked and leads to a skin damage.
  

What kind of damage does our skin get?

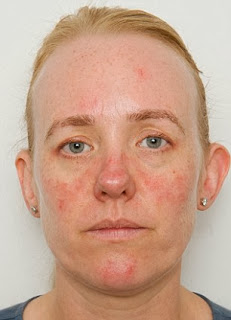
        Our skin while not removing makeup gets damaged and that leads to a reddish spots, drying up skin, pores becomes weak this is just because of not removing make up. This small mistake on day’s course will lead into a big trouble in future for your skin.
 

How can I remove my make up?

        Removing makeup as said it is compulsory. Using a cotton pad add little makeup remover on it and wipe it all over the face. There are many brands available in the market checkout which works well for your skin tone and use it. Then wash your face with soap.


Have problems in removing eyeliners?

1.  For removing eye liners just apply a cold cream/moisturizing cream in your eyes and rub it gently for few minutes and then wash your face.I use Nivea for removing my eyeliner.
             
2.  Take a ear bud dip it in warm water and just rotate it along the eye liner and wash your face.


This will help you to remove eye liner.

Can I use a facial tissue for removing makeup?

        Never use a facial tissue for removing makeup while going to bed. As facial tissue are always good to set up your makeup. 
      That is when you use powdered products for your eye shadows, foundation it tends to melt after sometime, so after you apply your make up just use a facial tissue to press those powdered products that you used. That will help in setting your makeup evenly.

    So it’s wise to remove makeup before going to bed and protect your skins from all the problems by letting it to breath happily.


Sunday, October 13, 2013

How to make your lipstick last longer

Hi girls,
        I know many of us love wearing a lipstick and worried why does our lipstick vanishes soon and we need to apply it again and again. Yes I too had this problem and discovered a way to wear a lipstick that last long and it worked well, now I’m using this method and this last for a longer hour than usual. 
         I would love to share with you this idea so it helps you in retaining your lipstick for longer hours.


Step 1:

        Apply a moisturizing cream to your lip which you often apply to your face. And just leave it about a minute. Any moisturizing cream you use for your face can be used.

Step 2:

        Just take a little drop of foundation in your hand and apply it on your lips and then rub your lower lip with the upper lip.

Step 3:

        Apply a lip liner similar to your lip color. Just go around the border and apply it firmly where you don’t shake out. I used a Revlon Lip pencil with a Burgundy which goes well with this lip color and gloss.

Step 4:
        Then apply lipstick of your shades. I used a Lakme Enrich Metallic 659.This s a metallic color with a nice shine look.


Step 5:

        Apply a lip gloss on the top of the lipstick. I use an Revlon transparent gloss which gives a shiny and transparent look of the lip stick. 


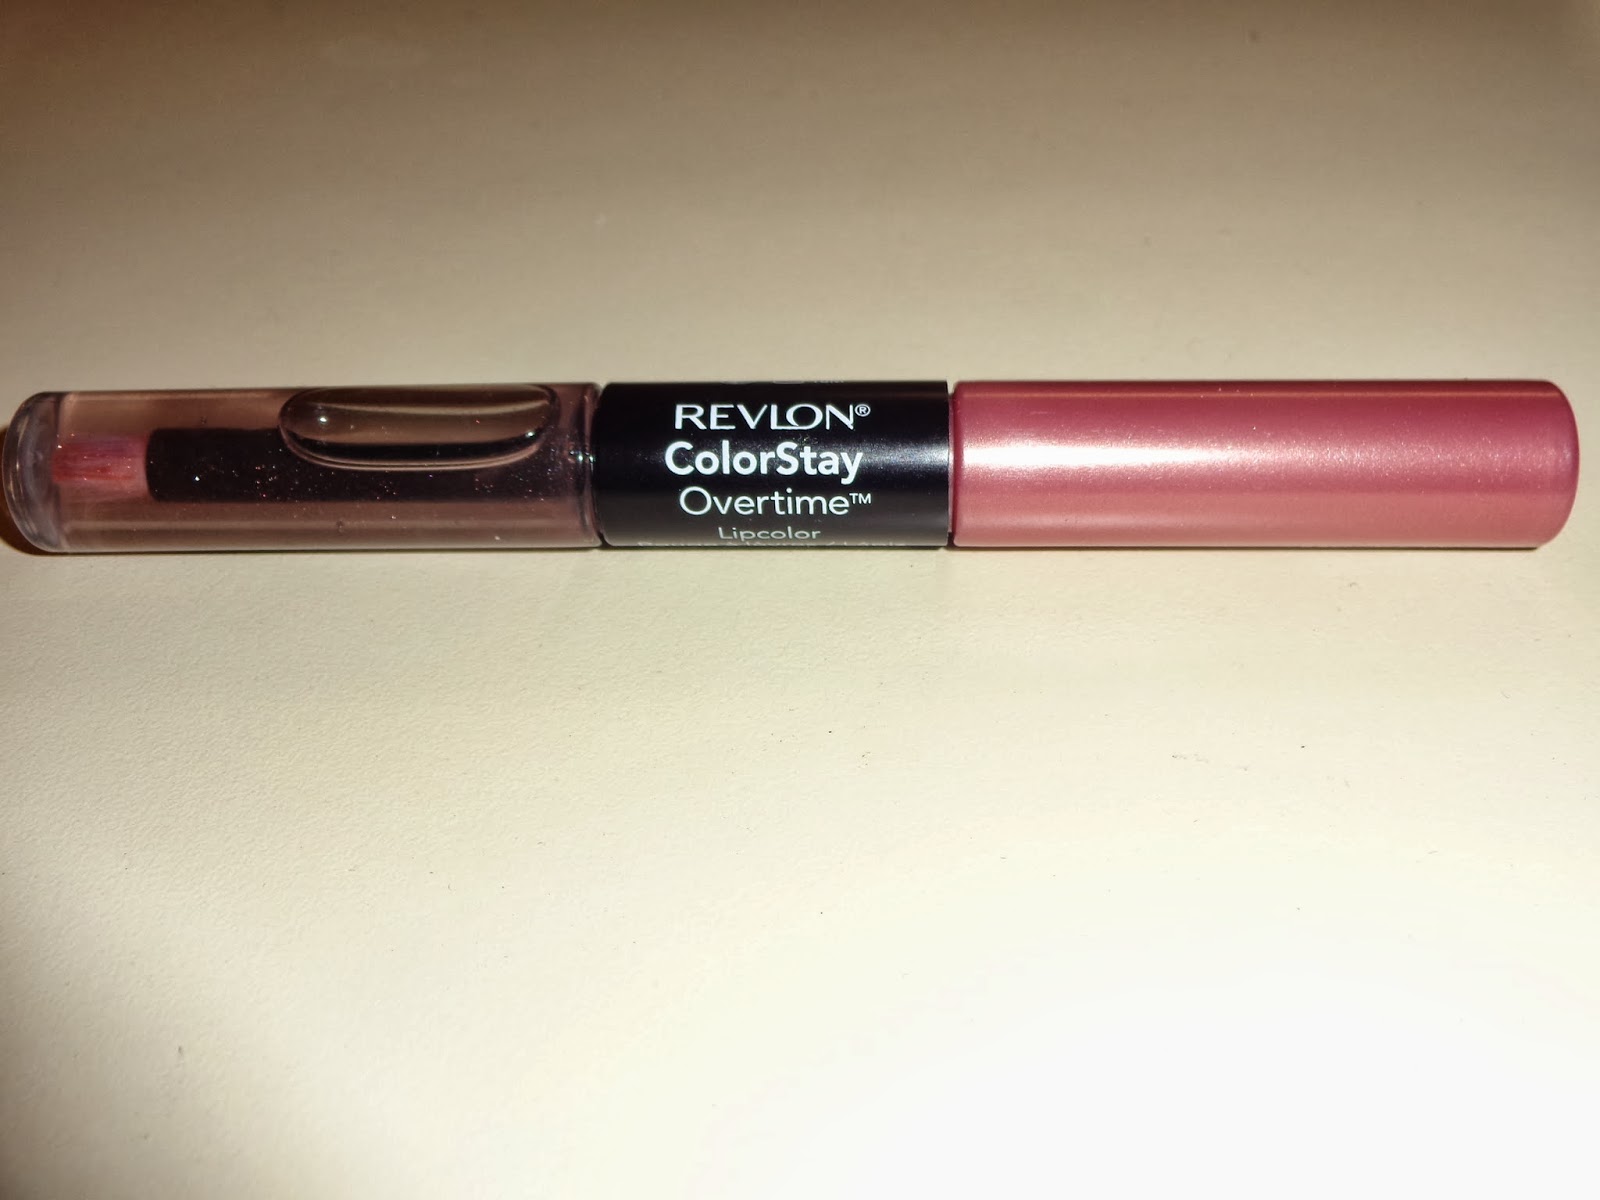
Just before that this Revlon colorstay lipcolor is two in one where in one side it has a transparent gloss(top coat) and on the other end is a top coat of a pink shade. This gloss is super and a long lasting, keeps your lips moist and gives a nice shiny texture to your lips. This cost 9.99$ or 912Rs in India and you can give a try hope you love it. Both the color are super awesome.


Just try out and feel the difference :)


Friday, October 11, 2013

Hair Straightening

Hi girls,
       We all love to have straight hairs and mostly when attending functions or going out for a date with loved once and we do a temporary straightening. I use a Panasonic straightening machine which is good and I love it. We can even curl the hairs but my hairs are already wavy so, I go for straightening it.


Step 1:

        Wash your hair and make it clean. When the hair is wet it is easy to straighten it. After washing brush your hair once as it will help in doing the process easy.


Step 2:

        Apply a heat resistance cream in your hair so that there will be reduced hair loss and we can protect our hair from damaging. This straightening cream is available in market with a variety of brands.


Step 3:

Divide your hair in separate portions and apply the cream on one portion.


 Step 4:

Take the straightening tools and ON the tool place it in one portion of hair and press it up to down for few minutes and leave it. Similarly do for the rest of the portion. 


       Once done to all portions just brush your hair.This is easy and very simple way to do  hair straightening.

Pros of Temporary Hair straightening:

  
    This method is very easy, simple and fast way to do straightening for hair.

Cons of Temporary Hair Straightening:


     1. This method is time consuming one.
     2. This doesn't last for more than 3 -4 hrs.


Monday, October 7, 2013

KAHO Nail art tool


Hi Beauties,

        We all are fond of nail art these days, I’m too one among it and started to learn, invent new tools available so that I could explore myself in the nail art/nail paint world. Here is one such tool I found recently KAHO nail art tool.

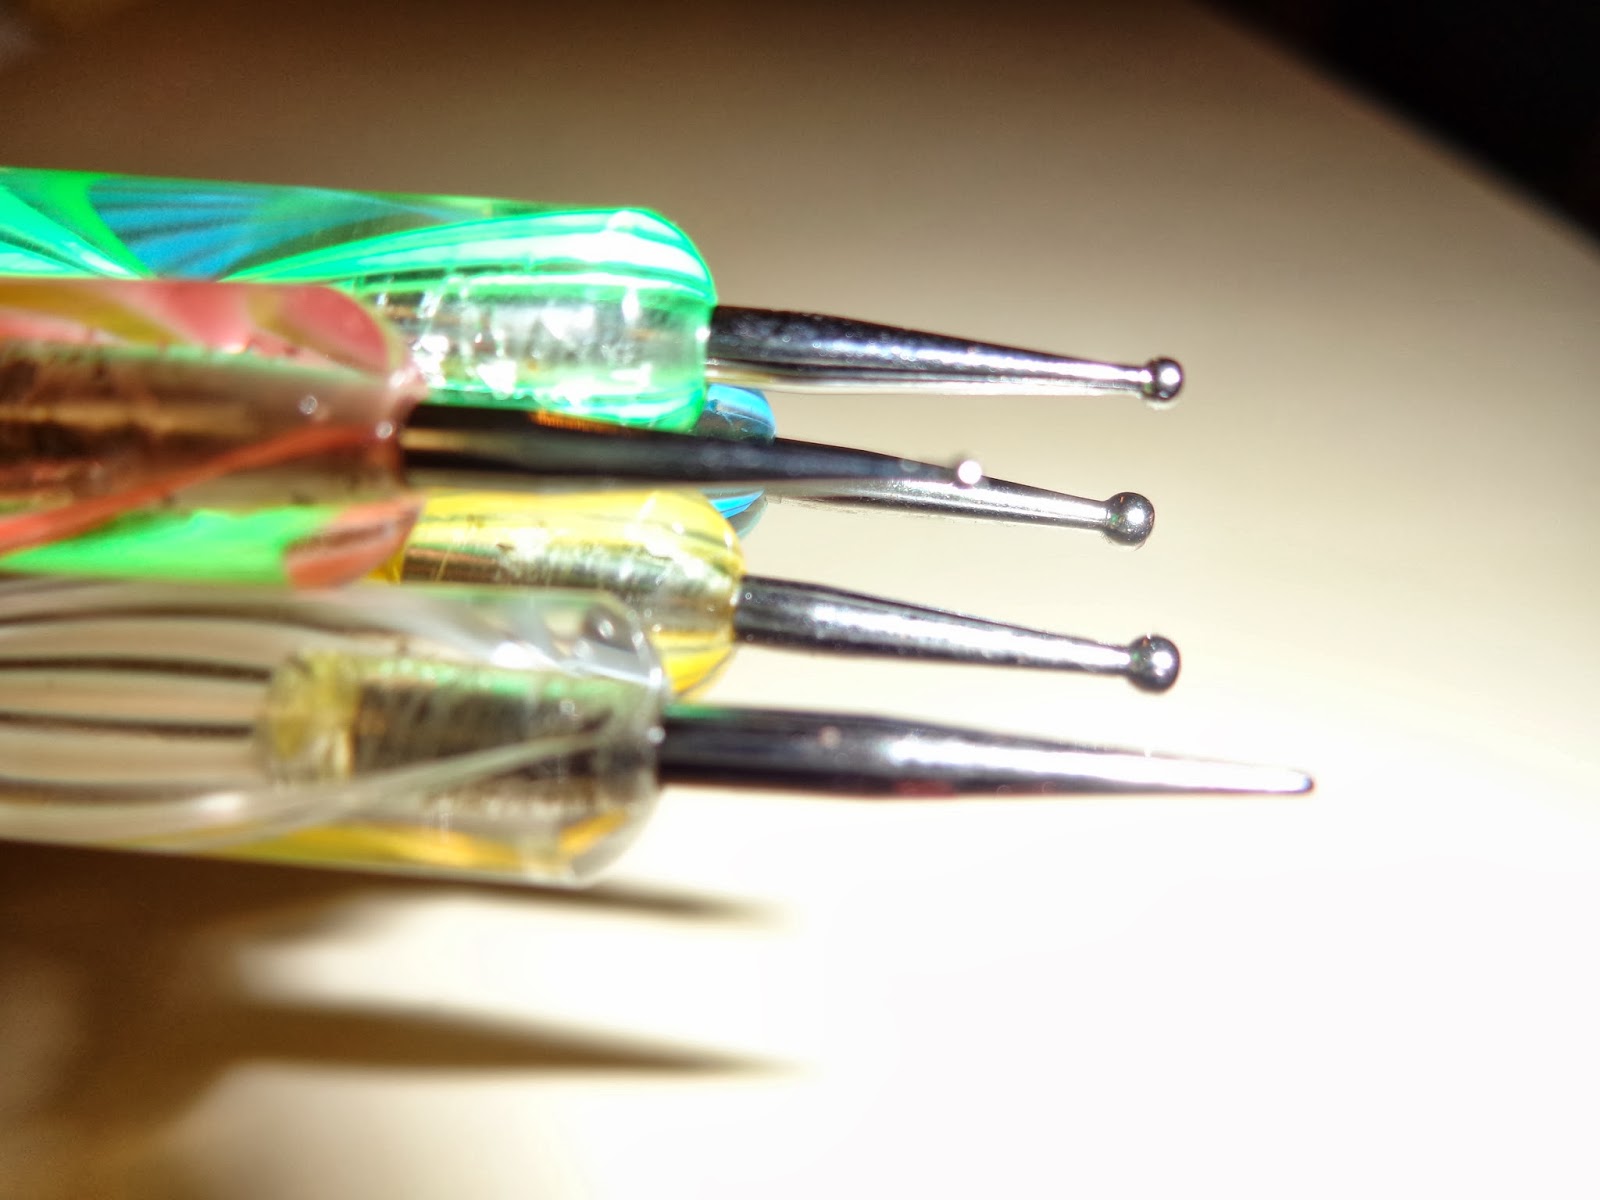
        KAHO nail art kit which I got a few days ago is amazing, very easy and simple nail art design can be done. This contains 5 pencils with both the ends with a different size of nobs. 


     This kit has come in wonderful colors and also with a small pouch which holds all these pencils and making it easy to carry where ever you go.


  This kit has 5 pencils where each pencils is in decreasing sizes the Tool 5 has bigger nods and Tool 1 smaller so you can use it as you like it. The nobs can be used for two reasons to create a dotted design for your nails or for an outline for the nail art.


How to use it?

        Using this nail art tool kit is very simple. Try out the following steps.

        Step 1: Apply a nail art and just let it dry for some time.

        Step 2:

               
          Take an acrylic color or a nail paint (prefer a contrast color it would look good) just dip the tip of the KAHO nail art tool of your preference size in the color and just place it over your nail. You can create designs as you like. The KAHO nail art tool 1 can also be used to create outline.

        Step 3: Just let it dry and your nail art is already.


Application is easy or tough?


        Everyone has this problem is application easy or tough, I too had same and got it just to give a try but it is very easy and simple tool.


How much this Cost?


        This KAHO nail art tool is cheap and you can get it less than 5$ or 250Rs. This is available in Amazon.


Pros of this tool:


1.  Easy to use.
2.  No need any expert guidelines.
3.  Low cost.
4.  Simple tool kit.

Cons of this tool:


       This tool can be used only for dotted designs and we can’t make any other design using this tool.


       Hope you all like this tool enjoy your nail art with this new and simple tool.


Wednesday, October 2, 2013

Nail art design simple and easy one

Hi babies,

          Have you ever tried a nail art at home? With just few materials that’s available at home? Here I would like to share few easy ways to do nail art at home which is simple and fast.


Materials Required:

1.   Nail polish(2 or more shades)
2.   Cellophane tape
3.   Scissors
4.   Black acrylic paint
5.   Brushes


Steps to be performed:

        
     Step 1:

             Apply nail polish of a desired color to your nails (you can use different colors to different nails also) and let it dry for some time.

Step 2:

         
               Take a Cellophane tape and cut it in the shape you want it for the nail. Cut 5 pieces. I used a heart shape for my nail. You can use your desired shapes.


Step 3:

              
                Now paste the Cellophane tape in the all the fingers and apply a different color (contrast colors will be good) 


Step 4:

   
       Apply a nail color or acrylic paint inside the cut out shape apply a different color to your nail color so it would be contrast and looks good.


       Step 5

.     
                           Remove the Cellophane tape from the each nail carefully and let it dry.

      Step 6:

              
                               Now with normal acrylic paint or any nail marker just give an outline.
            

      Step 7:

                               Now your nail art is ready J


           Hope you all loved it and just try it in your home  C
H


Friday, September 27, 2013

Easy home remedies for dark circles

Hi Babies,

       Tried every cream to get rid of dark circles but didn’t get a fix yet! Yes this dark circle are caused due to insufficient sleep in our day today life many people follow a culture of sleeping late and waking you early and this is a major cause of this dark circles.

        We can overcome this dark circles temporarily or for few hours by applying a concealer which would help to get an even skin tone. But this is not a permanent cure, we can also do facial or eye massage in repeated intervals from some beauty expert but these may cost little high.

So , I have some home remedies to get rid of Dark circles which are low cost, very effective and shows a good results when tried consistently.

1. Cucumber pack
  Cut two slice of cucumber and place it over your eyes and just relax and sleep for 30 min everyday this will help in reducing dark circles. As cucumber is good for skin and helps in refreshing eye.


2. Spoon Pack
 Keep a spoon inside the freezer for an hour and then place it over your eye for a period of 20 min every day. This helps in cooling your eyes and gives a nice relaxation by reducing the dark circles.


3.  Potato pack
    Peel off a potato and cut it into two medium slice and place the slice in your eyes and leave it for 30 min do repeat it every day which will reduce the darkness around the eyes.

4.  Lemon pack
     Mix equal quantity of lemon juice and cucumber juice in a container and apply the liquid around your eyes and leave it for a 20 min and wash your face. This should be done regularly which will help to reduce dark circles.

5.  Tomato Pack
 Tomato is good for lightening skin tone so when you apply the tomato juice in your face the tanning will also reduce and the dark circle will also reduce leaving with an even color of the skin. Try applying it in alternative days for about 20-30 min and wash with plain water.

6. Drink water
   On top of all this drinking water is essential as water is a cure for almost all problems in our body likewise for dark circles this water plays an essential role. The dark circle or the puffiness beneath your eye is due to some toxic present so this gets diluted if you drink 8-10 glasses of water.


Try all this easy home remedies and get rid of dark circles.


Monday, September 23, 2013

Smart Ways To Loose Weight

      We often workout hours together and think there is no change in our weights. In fact, that’s because we wouldn’t have been in a proper diet. Workout and proper diet at the right time will help in reducing weights effectively. I would like to share some information with you:

1.  Sleeping at right time:

                We often have a practice of getting up late and sleeping at late-night which many times affect our body health. We always need to have a proper schedule for waking up and going back to bed on proper time. There is a proverb which best suites this “Early to bed and early to rise makes a man healthy, wealthy, and wise”. 


2. Physical activity for 30 min/day:

               We are always indulged in our work and dis-remember our health so it’s good to spend some amount of time for ourselves. These days things have been more automatic and computerized so we never get a chance to do any physical activates during our work. So it’s always good to spend at least 20-40 min/day in any kind of workout that’s comfortable for you like gym, aerobics, swimming or yoga as you like. This would relax our mind too.


3. Track your BMI:

   Always have a track of your weight and check your BMI (Body Mass Index) and know whether your weight is proper to your height as, if you have a BMI greater than 30 it may lead to obesity. Down is a general scale of BMI.
     
           BMI Categories:
       Underweight = <18 .5="" o:p="">
                                              Normal weight = 18.5–24.9
                                              Overweight = 25–29.9
                                              Obesity = BMI of 30 or greater.
    4. Consume Low fat food:
          Just to start with the diets avoid high fat and high calories food. Just as simple to start stop consuming fried items, sweets, soft drinks, cakes, ice-creams, chocolates, etc. Start eating Vegetables, fruits or fresh juices. Also use less sugar, salt in your cooking and replace rice with roti (wheat).


 5. Change your work space behavior:
     Our work orientation is generally computerized so it is wise to have breaks for at least 5 min for an hour intervals. We always have to follow healthy work space etiquette such as try to take lunch away from desk, go for small walk after lunch, etc.
6. Consume lot of water:
         An advice we often hear from others is to “Drink water” which is very essential as it might flush out toxin from our vital organs is one among its benefit. We generally neglect this advice but we have to drink almost 8 glasses of water that is 1.9 liters if we lack of water in our body it many lead to dehydration.
7.  Never skip breakfast:
     Breakfast tends to maintain and lose weight. Though people skip breakfast in the hope of losing weight they tend to eat more during lunch or even choose unhealthier options later on which results into weight gain. Always try to eat heavy breakfast, medium lunch and light dinner.
8. Consult doctor if drastic change in weight:
       If we have a sudden raise in our weight especially for women’s in the abdomen region it might be because of some medical reasons like PCOS, Thyroid, and Obesity etc. So it’s good to consult with doctor if you feel a sudden raise in weight this will help to know about our body conditions and good health.

       Just give a try to change few habits in your day today life and see a change in your mind and body. Hope this would motivate you for your weight reduction goals as this as stepping stone.

       
Related Posts Plugin for WordPress, Blogger...